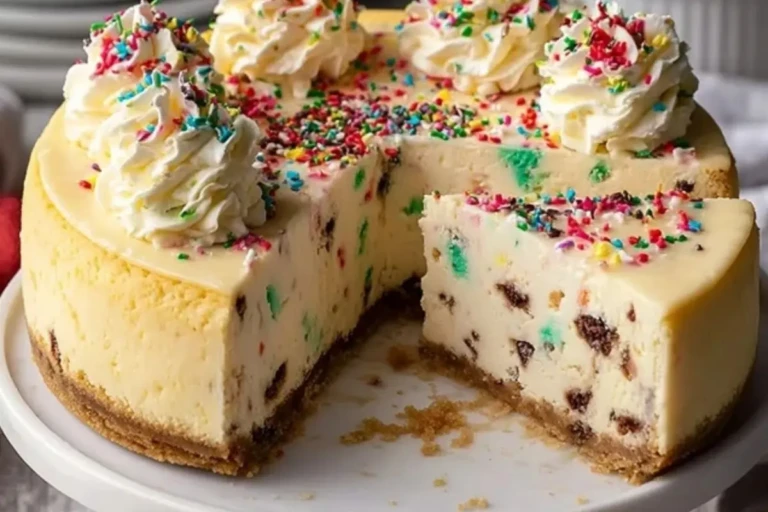
Strawberry Twinkie Cake
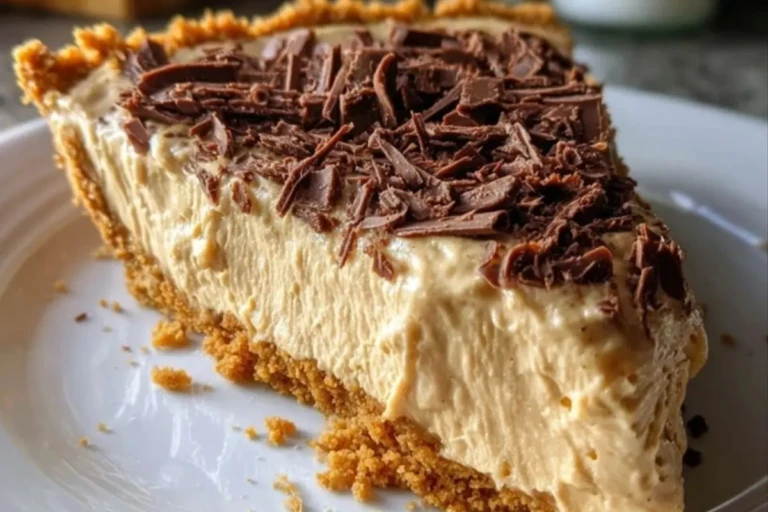
Soft, fluffy, and bursting with sweet summer flavor, the Strawberry Twinkie Cake is a dessert that instantly puts smiles on faces. This delightful treat layers golden sponge cake with billowy whipped cream and juicy strawberries, delivering that nostalgic Twinkie vibe—only better. Each bite is light yet indulgent, with a creamy center that melts on your tongue and fresh strawberries that add the perfect fruity zing.

Whether you’re celebrating a birthday, hosting a brunch, or simply craving something sweet, this no-fuss, no-bake cake makes an elegant yet playful centerpiece. It’s easy to prepare, beautiful to serve, and loved by kids and adults alike. The combination of familiar flavors and an impressive presentation makes it a recipe you’ll keep coming back to.
Ingredients for this Strawberry Twinkie Cake
- 1 box Twinkies (about 10-12), sliced lengthwise
- 1 lb (450g) fresh strawberries, hulled and sliced
- 1 cup heavy whipping cream
- 8 oz cream cheese, softened
- 1/2 cup powdered sugar
- 1 tsp vanilla extract
- Extra whole strawberries for topping
- Optional: powdered sugar for dusting


Step 1: Prepare the Creamy Filling
In a large mixing bowl, beat the softened cream cheese until smooth and fluffy. Add powdered sugar and vanilla extract, and continue to mix until fully combined. In a separate bowl, whip the heavy cream until stiff peaks form. Gently fold the whipped cream into the cream cheese mixture until light and airy. Set aside in the fridge while preparing the base.
Step 2: Assemble the First Layer
Line the bottom of a square or rectangular baking dish with the sliced Twinkies, cream-side up. Press them gently to form an even base layer. Spoon half of the whipped filling over the Twinkies and spread it evenly using a spatula.
Step 3: Add the Strawberries
Arrange a generous layer of sliced strawberries over the cream filling, making sure each bite will get a good amount of fruit. Press them lightly into the cream.
Step 4: Repeat and Finish the Top
Add another layer of sliced Twinkies over the strawberries, followed by the remaining whipped filling. Smooth the top. Decorate with whole and halved strawberries on top, and finish with a light dusting of powdered sugar for that irresistible, bakery-style touch.
Step 5: Chill Before Serving
Place the cake in the refrigerator for at least 2 hours (or overnight) to allow it to set. This chilling time helps the flavors meld together and makes slicing much easier.
Storage Instructions
To keep your Strawberry Twinkie Cake tasting fresh and delicious, store it in an airtight container in the refrigerator. It will stay good for up to 3 days, though it’s best enjoyed within the first 24–48 hours for maximum freshness. Avoid freezing, as the whipped cream and strawberries don’t thaw well and can become watery.
If you’re prepping ahead, you can assemble the layers a day before and add the top strawberry garnish just before serving to keep them vibrant and juicy.
Estimated Nutrition
Per serving (based on 12 servings):
- Calories: 290
- Total Fat: 18g
- Saturated Fat: 10g
- Cholesterol: 45mg
- Sodium: 150mg
- Total Carbohydrates: 30g
- Sugar: 22g
- Protein: 3g
Note: Nutritional values are approximate and can vary based on specific ingredients used.
Frequently Asked Questions
What can I use instead of Twinkies?
You can substitute Twinkies with sponge cake slices or ladyfingers if you prefer something less sweet or homemade.
Can I make this cake ahead of time?
Yes! It’s ideal for prepping ahead. Assemble it a day in advance and store it in the fridge until ready to serve.
How do I keep the strawberries from getting soggy?
Use fresh, dry strawberries, and avoid slicing them too early. Add the top layer of strawberries shortly before serving for best results.
Can I freeze this dessert?
Freezing is not recommended, as the whipped cream and fresh strawberries don’t hold up well when thawed.
Is there a dairy-free version of this cake?
You can try dairy-free whipped topping and a plant-based cream cheese alternative, though flavor and texture may vary.
What if I don’t have a mixer?
You can use a hand whisk, but it may take more effort to whip the cream and blend the filling smoothly.
How do I get clean slices?
Chill the cake well before slicing and use a sharp knife wiped clean between each cut for neat pieces.
Can I add other fruits?
Absolutely! Blueberries, raspberries, or even kiwi make great additions for extra color and flavor.

3-Ingredient Oatmeal Breakfast Cookies
- Total Time: 20 minutes
- Yield: 8–10 cookies
Description
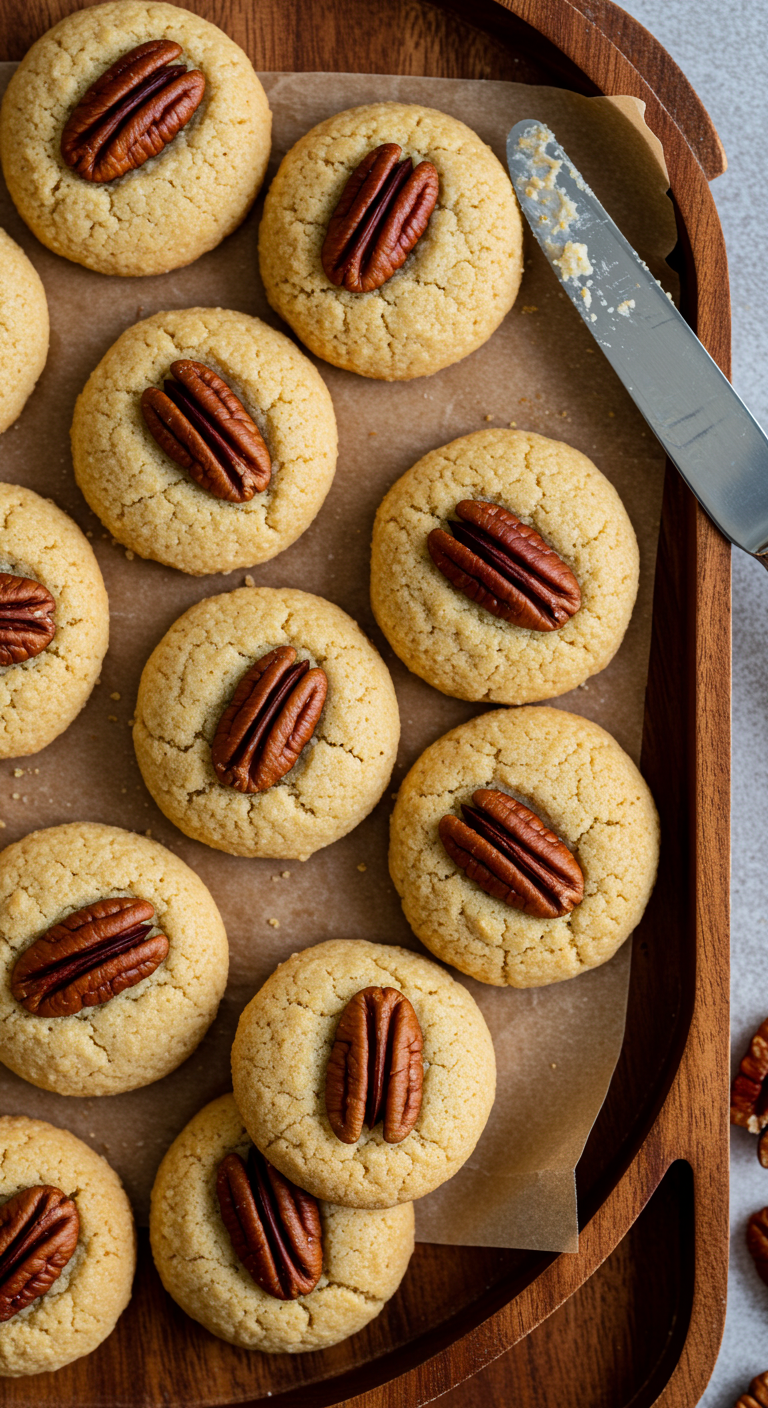
If you’re looking for a quick breakfast, healthy snack, or even a no-fuss dessert, these 3-ingredient oatmeal breakfast cookies are your new best friend. Naturally sweet, chewy, and packed with wholesome goodness, they come together in just minutes—no mixer, no chilling, and no stress. Whether you’re chasing after a toddler or running out the door to work, this easy recipe fits right into busy mornings and healthy food ideas. Bananas, oats, and a touch of peanut butter (or your favorite nut butter) unite to create a soft, chewy cookie that feels indulgent but fuels your day right. Ideal for meal prepping, lunchboxes, or a grab-and-go bite, they’re one of the simplest breakfast ideas you’ll come back to over and over again.
Ingredients
2 ripe bananas
1 cup rolled oats
1/4 cup peanut butter (or almond butter, sunflower seed butter, etc.)
Instructions
- Preheat your oven to 350°F (175°C) and line a baking sheet with parchment paper.
- In a medium bowl, mash the ripe bananas with a fork until mostly smooth.
- Stir in the oats and peanut butter until fully combined.
- Scoop tablespoon-sized portions onto the baking sheet and flatten slightly with the back of the spoon.
- Bake for 12–15 minutes, or until the cookies are set and lightly golden on the edges.
- Let them cool for a few minutes on the baking sheet before transferring to a wire rack.
- Enjoy warm or store for later!
- Prep Time: 5 minutes
- Cook Time: 15 minutes
- Category: Breakfast