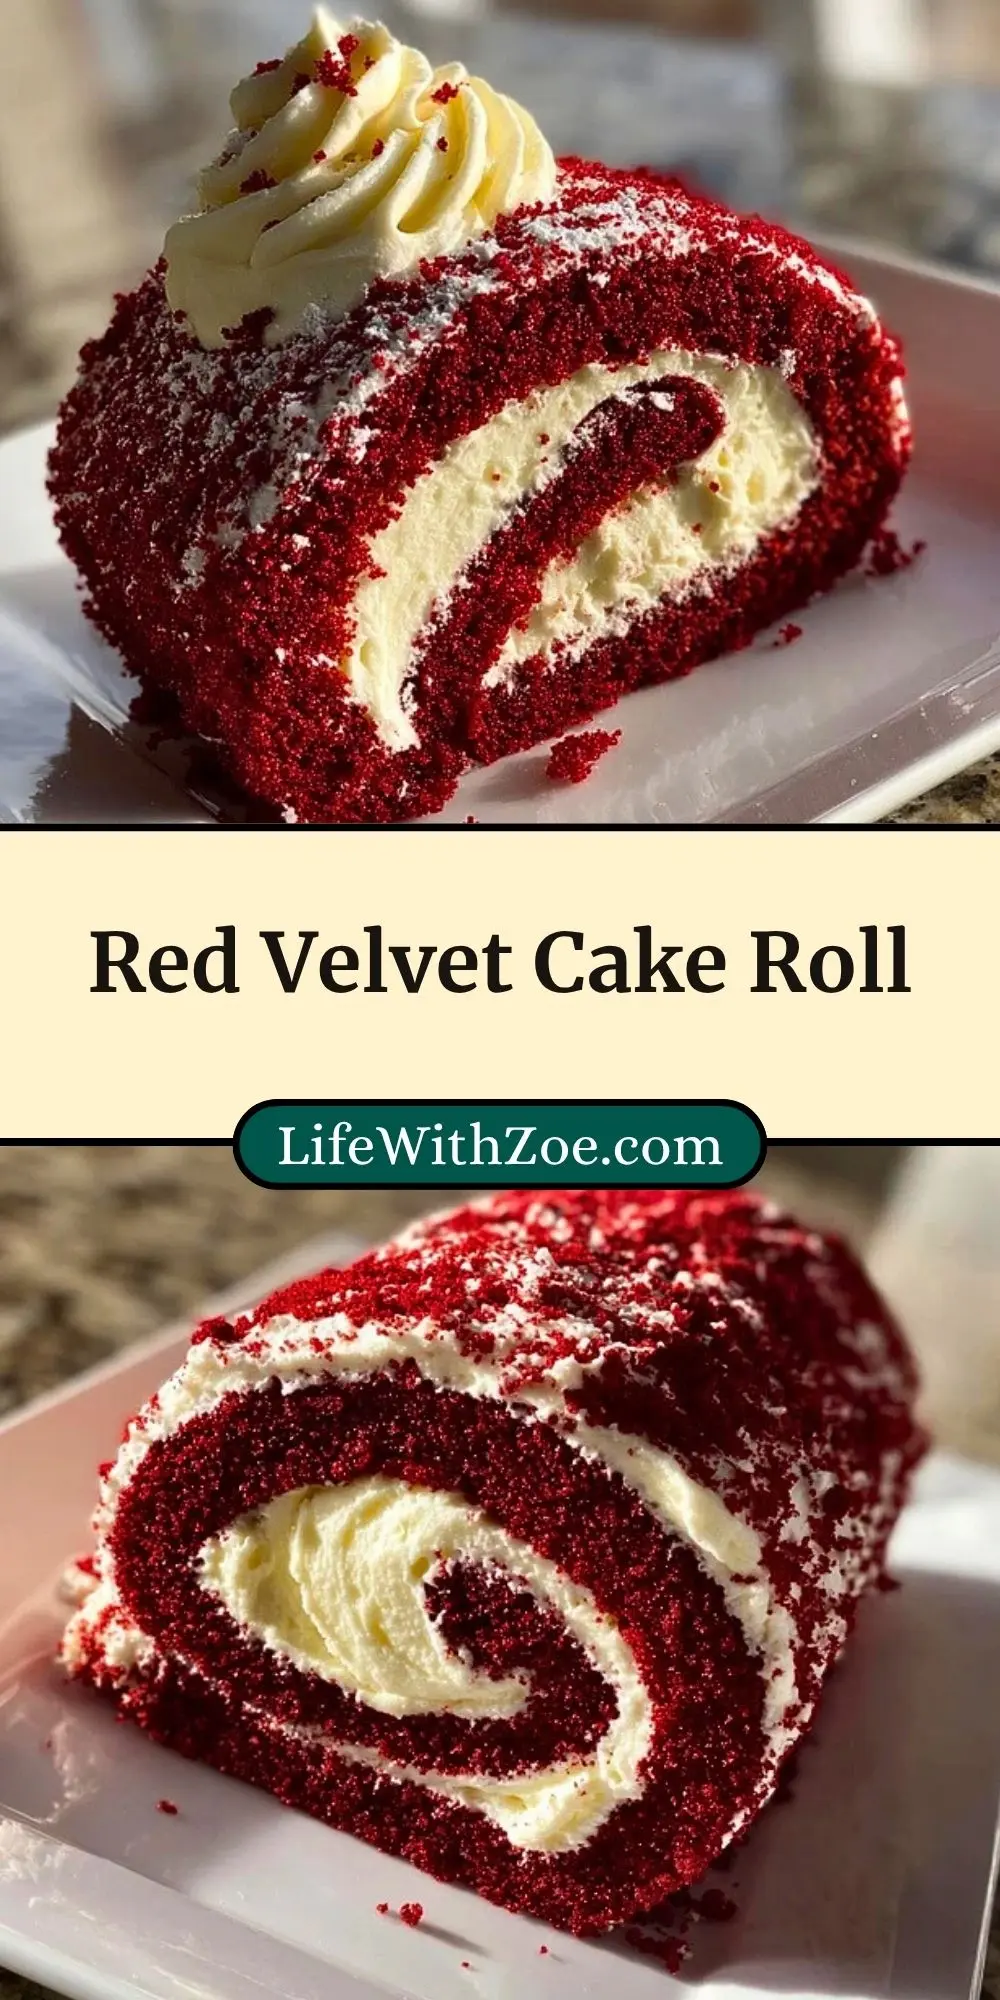
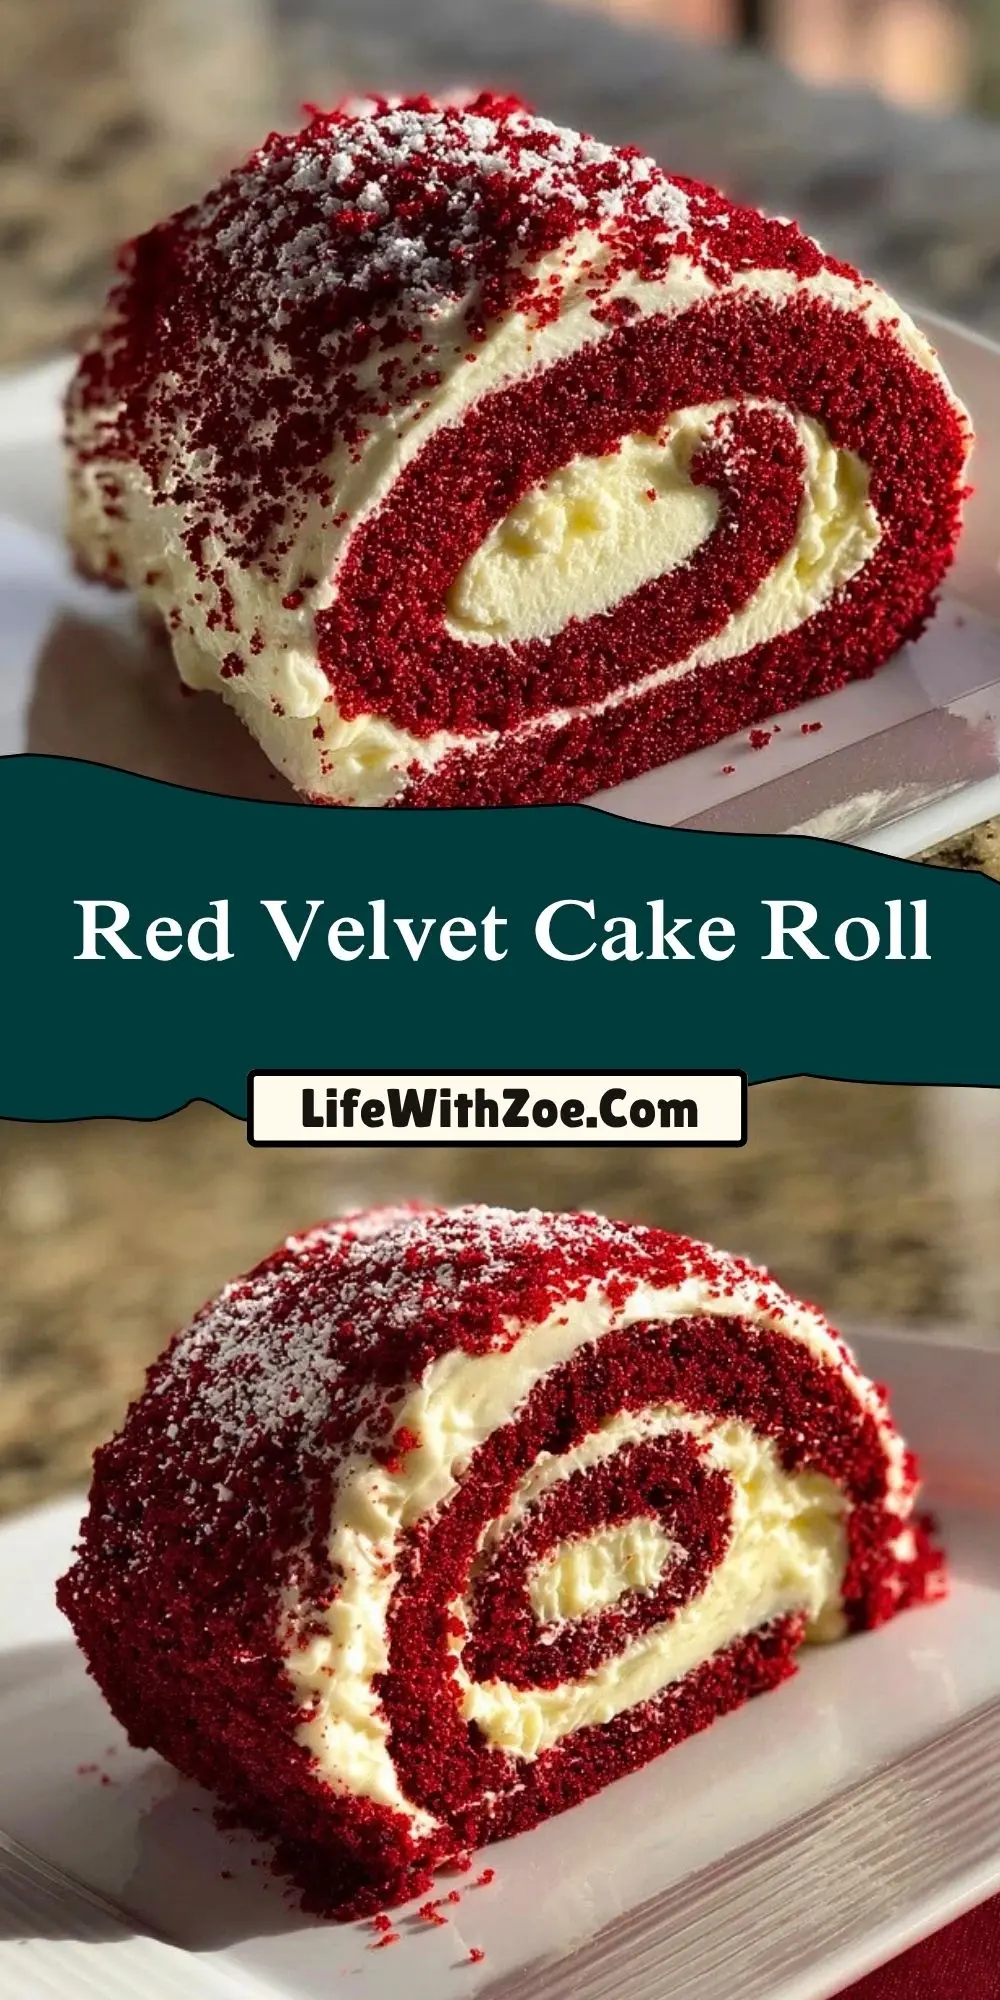
Red Velvet Cake Roll

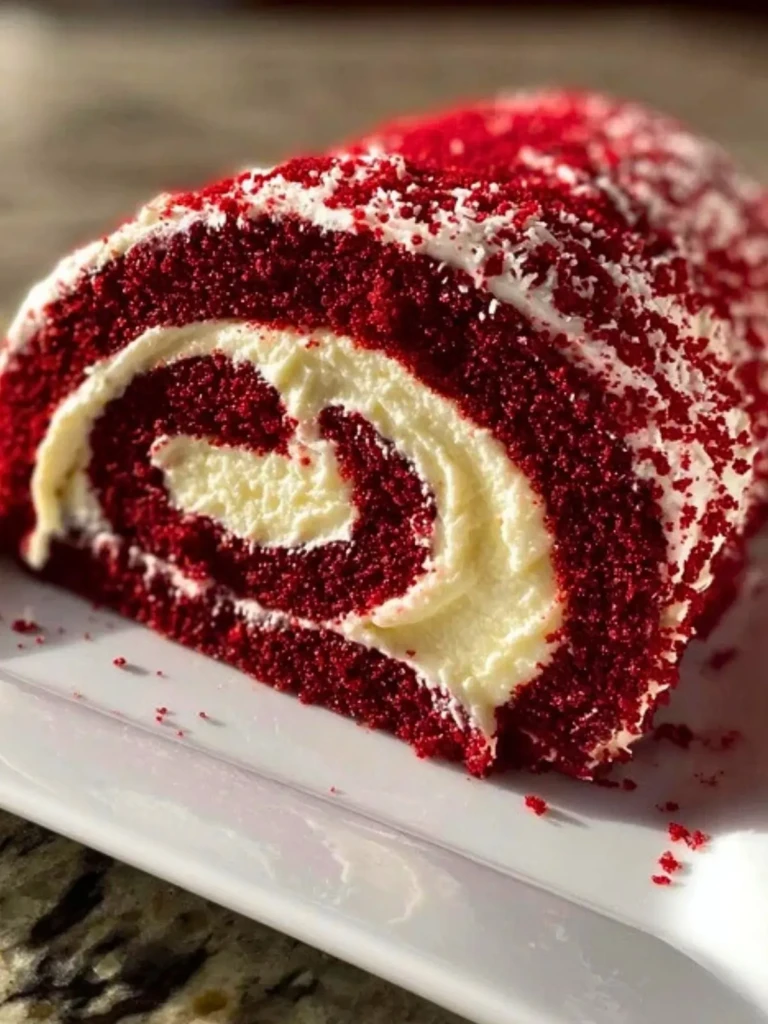
There’s something absolutely irresistible about the deep red color of a red velvet dessert, and when you roll it up with creamy, sweet filling? Pure magic. This Red Velvet Cake Roll is not just stunning to serve but incredibly delicious to eat. With its light and airy sponge texture wrapped around a tangy cream cheese filling, it’s the perfect showstopper for holidays, birthdays, or any time you want to wow guests.
Making a cake roll can sound intimidating, but it’s actually much easier than you think. Once you master the rolling technique, the rest is a breeze. This red velvet version is rich in cocoa and has that signature slight tang, while the filling adds a creamy contrast. You’ll get that satisfying swirl in every slice, making it as pretty as it is tasty.
Why You’ll Love This Red Velvet Cake Roll
If you love red velvet cake, this roll version is going to become a new favorite. It’s a portable, sliceable version of the classic with all the flavor you adore but even more flair. It’s easier to share, holds up great in the fridge, and looks impressive enough to take center stage on your dessert table.
Plus, the texture is something special. The sponge is soft but sturdy enough to roll without breaking, and the filling is creamy with a slight tang from the cream cheese that balances beautifully with the sweet cocoa sponge.
Can I Use Boxed Cake Mix for a Cake Roll?
While you can use boxed red velvet cake mix in a pinch, it won’t give you the same sponge-like texture needed for rolling. This cake roll relies on a light, flexible sponge that comes from beating the eggs to the right consistency and gently folding in the flour. Boxed mixes tend to be more dense, which makes rolling without cracking quite tricky. If you’re going to roll it, it’s worth making the sponge from scratch.
Ingredients for the Red Velvet Cake Roll
Each ingredient in this Red Velvet Cake Roll plays a specific role in creating that soft texture and deep flavor.
Eggs: These provide structure and volume. Beating them until thick and pale is what helps create a light sponge.
Granulated Sugar: Sweetens the cake and helps with structure during the egg whipping process.
Vegetable Oil: Keeps the cake moist and tender.
Buttermilk: Adds that classic red velvet tang and keeps the cake tender.
Vanilla Extract: Enhances the overall flavor.
Red Food Coloring: Gives that iconic red hue.
All-Purpose Flour: The base of the sponge that holds everything together.
Unsweetened Cocoa Powder: Just enough to give that chocolate undertone without overpowering.
Baking Powder & Salt: For lift and balance.
Cream Cheese: The star of the filling. Smooth, tangy, and rich.
Butter: Softened and blended into the filling for creaminess.
Powdered Sugar: Sweetens and stabilizes the cream cheese filling.

How To Make the Red Velvet Cake Roll
Step 1: Prep and Line Your Pan
Preheat the oven and line a jelly roll pan with parchment paper, making sure the paper hangs over the edges for easy lifting later. Lightly grease the paper to prevent sticking.
Step 2: Whip the Eggs and Sugar
In a stand mixer or with a hand mixer, beat the eggs and sugar together until pale, thick, and voluminous. This step is key to getting a sponge that rolls without cracking.
Step 3: Add the Wet Ingredients
Mix in the oil, buttermilk, vanilla extract, and red food coloring until well combined.
Step 4: Sift and Fold
In a separate bowl, sift together the flour, cocoa powder, baking powder, and salt. Gently fold this into the wet mixture, being careful not to deflate the eggs.
Step 5: Bake the Cake
Pour the batter into the prepared pan and spread it evenly. Bake until the cake springs back lightly when touched.
Step 6: Roll It Up
While the cake is still warm, turn it out onto a clean towel dusted with powdered sugar. Gently peel off the parchment and roll the cake up in the towel. Let it cool completely rolled.
Step 7: Make the Filling
Beat together cream cheese, butter, powdered sugar, and a splash of vanilla until smooth and creamy.
Step 8: Assemble and Chill
Once the cake is cool, gently unroll it, spread the filling evenly, then roll it back up. Wrap tightly in plastic wrap and chill to set.
How to Store and Serve Red Velvet Cake Roll
This cake roll serves 8 to 10 slices, depending on how thick you cut them. It stores wonderfully in the fridge, tightly wrapped in plastic wrap or in an airtight container, for up to 4 days. You can also freeze it for longer storage. Just thaw overnight in the fridge before serving.
For serving, let it come to room temperature for 15 to 20 minutes for the best texture. A dusting of powdered sugar or a drizzle of white chocolate can add a fancy touch.
What to Serve With Red Velvet Cake Roll?
Fresh Berries
The tartness of raspberries or strawberries cuts through the richness of the cream cheese filling perfectly.
Hot Coffee or Espresso
A bold cup of coffee makes each bite feel even more indulgent.
Whipped Cream
A dollop of fresh whipped cream lightens every slice without overpowering it.
Vanilla Ice Cream
If you’re going all out, vanilla ice cream pairs like a dream.
Crushed Pistachios
Sprinkle over the top for a bit of crunch and color contrast.
Chocolate Sauce
A drizzle over the plate makes for beautiful presentat

Red Velvet Cake Roll
- Total Time: 1 hour 45 minutes
- Yield: 8–10 slices
- Diet: Vegetarian
Description
This Red Velvet Cake Roll is a stunning dessert featuring a rich cocoa sponge and creamy tangy filling. Perfect for holidays or special occasions, it’s easy to make, slice, and share. Discover this show-stopping red velvet dessert roll recipe that’s ideal for gatherings or indulgent treats.
Ingredients
3 large eggs
¾ cup granulated sugar
2 tablespoons vegetable oil
¼ cup buttermilk
1 teaspoon vanilla extract
1 tablespoon red food coloring
⅔ cup all-purpose flour
2 tablespoons unsweetened cocoa powder
1 teaspoon baking powder
¼ teaspoon salt
8 oz cream cheese, softened
4 tablespoons unsalted butter, softened
1 cup powdered sugar
1 teaspoon vanilla extract
Instructions
1. Preheat the oven to 350°F and line a 10×15 jelly roll pan with parchment paper, greasing the paper.
2. In a bowl, beat eggs and sugar until pale, thick, and fluffy.
3. Mix in oil, buttermilk, vanilla, and food coloring.
4. Sift flour, cocoa, baking powder, and salt together, then fold gently into the wet mixture.
5. Pour batter into pan, spread evenly, and bake for 10-12 minutes until it springs back.
6. While warm, turn out onto powdered sugar-dusted towel, peel parchment, and roll gently in the towel. Let cool.
7. For the filling, beat cream cheese, butter, powdered sugar, and vanilla until smooth.
8. Unroll cooled cake, spread filling evenly, re-roll tightly, and wrap in plastic wrap. Chill for at least 1 hour.
9. Slice and serve with powdered sugar or drizzle as desired.
Notes
Let the cake cool completely before filling to avoid melting the cream cheese.
Dust towel with powdered sugar generously to prevent sticking.
Use a serrated knife for clean, even slices.
- Prep Time: 25 minutes
- Cook Time: 12 minutes
- Category: Dessert
- Method: Baking
- Cuisine: American
Nutrition
- Serving Size: 1 slice
- Calories: 280
- Sugar: 23g
- Sodium: 210mg
- Fat: 15g
- Saturated Fat: 9g
- Unsaturated Fat: 5g
- Trans Fat: 0g
- Carbohydrates: 32g
- Fiber: 1g
- Protein: 4g
- Cholesterol: 80mg