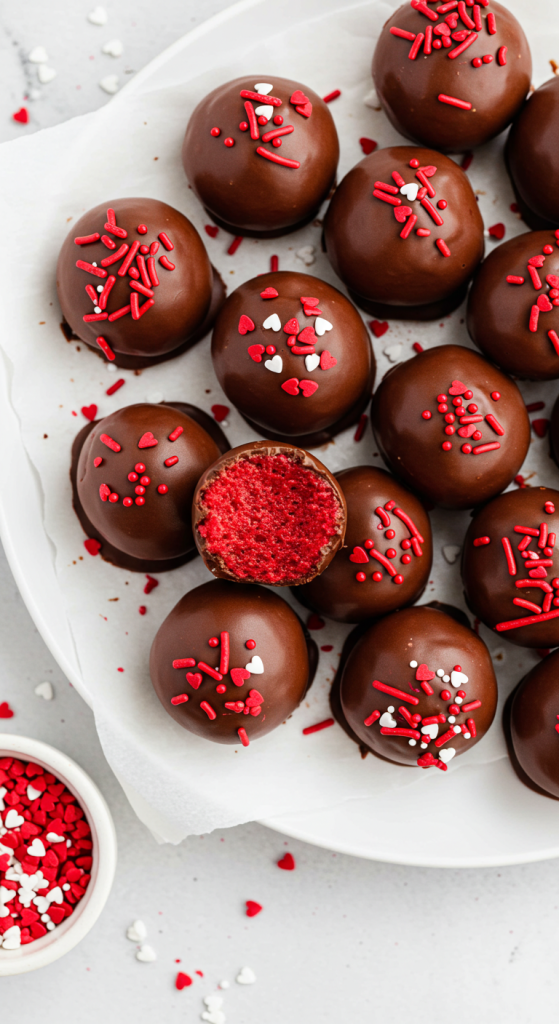
Red Velvet Cake Balls

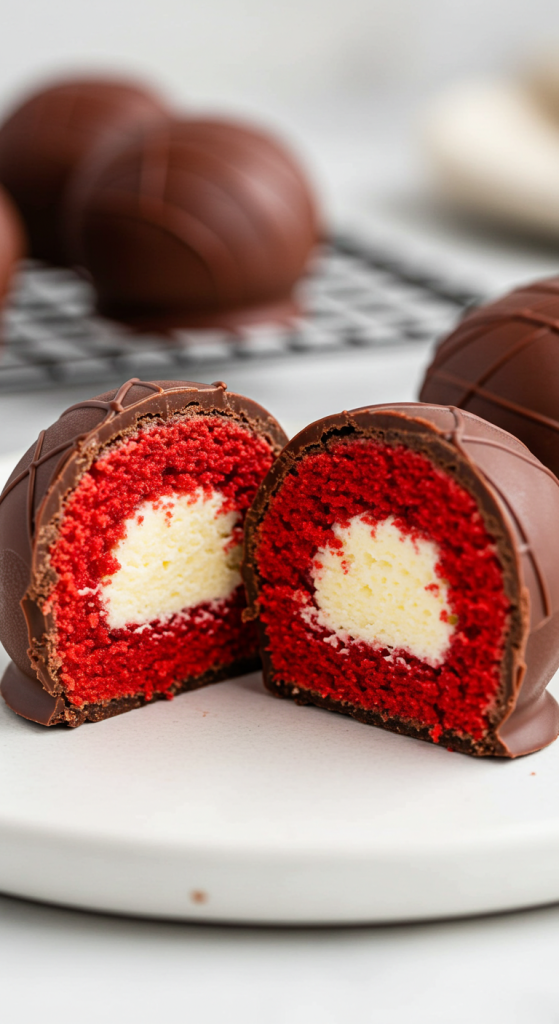
The very first time I made these Red Velvet Cake Balls, I couldn’t stop popping them into my mouth before they even made it to the serving plate. There’s something so irresistible about the moist, cocoa-kissed cake mixed with creamy frosting, all wrapped up in a delicate chocolate shell. Every bite is a little piece of heaven, and I love how effortlessly they disappear at parties.
I adore desserts that feel both nostalgic and indulgent. Red velvet has always been one of my favorite flavors, and transforming it into bite-sized treats was a revelation. The slight tang of the cream cheese frosting balances beautifully with the richness of the chocolate coating. They’re the kind of dessert that makes everyone pause and smile, even before the first bite.
These little cake balls are also incredibly versatile. Whether it’s a holiday gathering, birthday party, or just a weekend craving, they’re the perfect sweet addition. If you love bite-sized indulgences, you might also enjoy my Irresistible Pecan Pie Bites or Peanut Butter Balls with Chocolate Rice Krispies for your next baking adventure.


Why You’ll Love This Red Velvet Cake Balls Recipe
These Red Velvet Cake Balls are as fun to make as they are to eat. You’ll love how simple yet impressive they are, perfect for beginners and seasoned bakers alike. They store well, travel easily, and are guaranteed to steal the show at any dessert table. Not to mention, they make for a sweet edible gift that anyone would be thrilled to receive!
Ingredients
Red velvet cake mix brings that signature cocoa flavor and vibrant red color that everyone recognizes. Cream cheese frosting is essential for adding the creamy tangy richness that makes these cake balls unforgettable. Chocolate or white chocolate melting wafers are perfect for creating a smooth, snappy shell that encases the soft interior beautifully.
How to Make Red Velvet Cake Balls
Step 1: Bake the Cake
Prepare the red velvet cake mix according to package instructions and let it cool completely. This ensures the crumbs don’t get soggy when mixed with frosting.
Step 2: Crumble and Mix
Once cooled, crumble the cake into fine crumbs in a large mixing bowl. Add cream cheese frosting a spoonful at a time, mixing until the cake holds together but isn’t overly sticky.
Step 3: Shape the Balls
Scoop out portions of the mixture and roll them into small, even balls. Place them on a parchment-lined baking sheet and chill in the freezer for about 30 minutes so they firm up.
Step 4: Coat with Chocolate
Melt your chocolate or white chocolate wafers in a microwave or double boiler. Using a fork or skewer, dip each chilled cake ball into the melted chocolate, allowing excess to drip off. Place them back on the parchment to set.
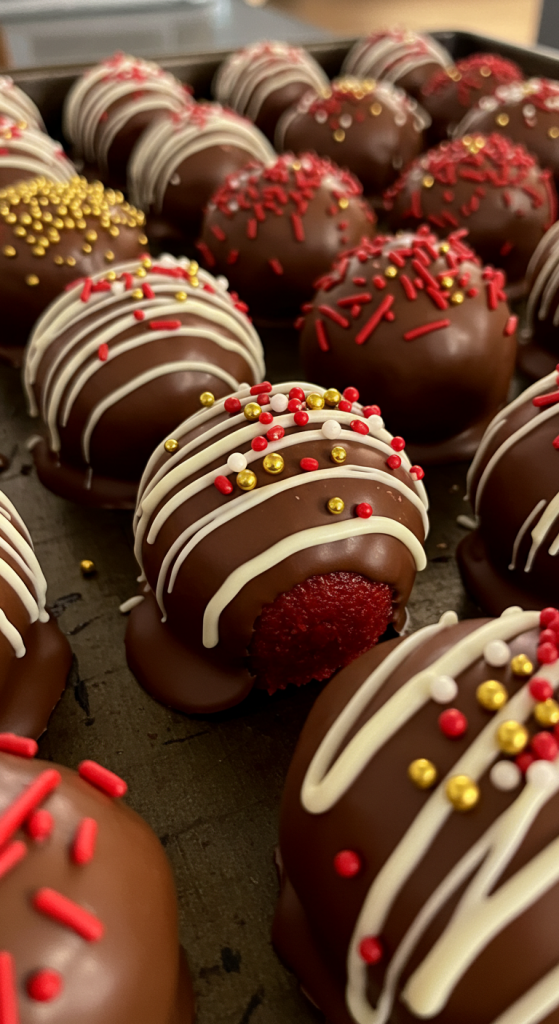
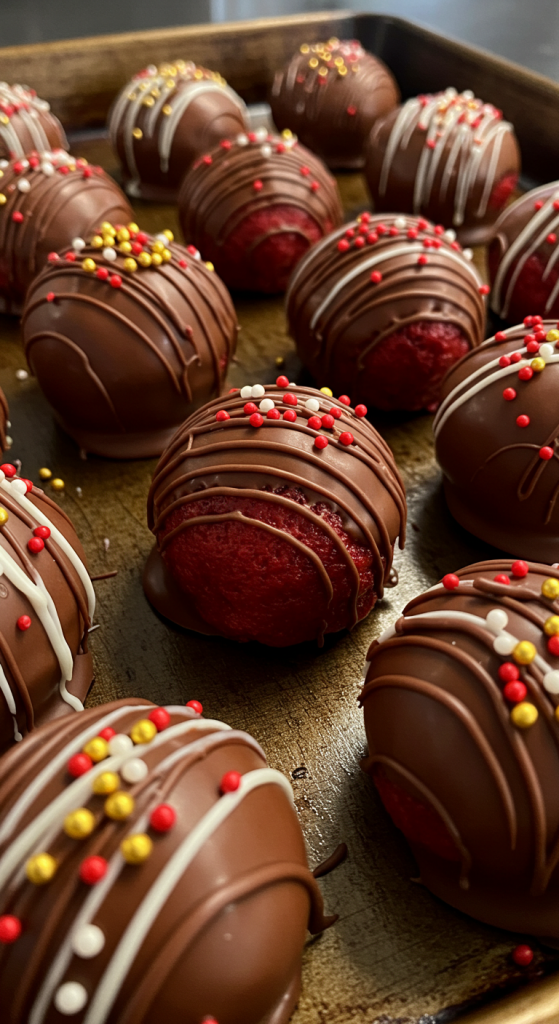
Step 5: Decorate and Enjoy
While the coating is still wet, you can sprinkle crushed nuts, festive sprinkles, or drizzle with contrasting chocolate. Let them set completely before serving or storing.
Recipe Variations and Possible Substitutions
You can easily put your own twist on these Red Velvet Cake Balls. Try using dark chocolate for a richer flavor, or white chocolate for a sweeter contrast. Swap the cream cheese frosting for buttercream if you prefer a milder taste. For a festive touch, add a drop of peppermint extract to the cake mixture or use colorful candy melts for coating.
Serving and Pairing Suggestions
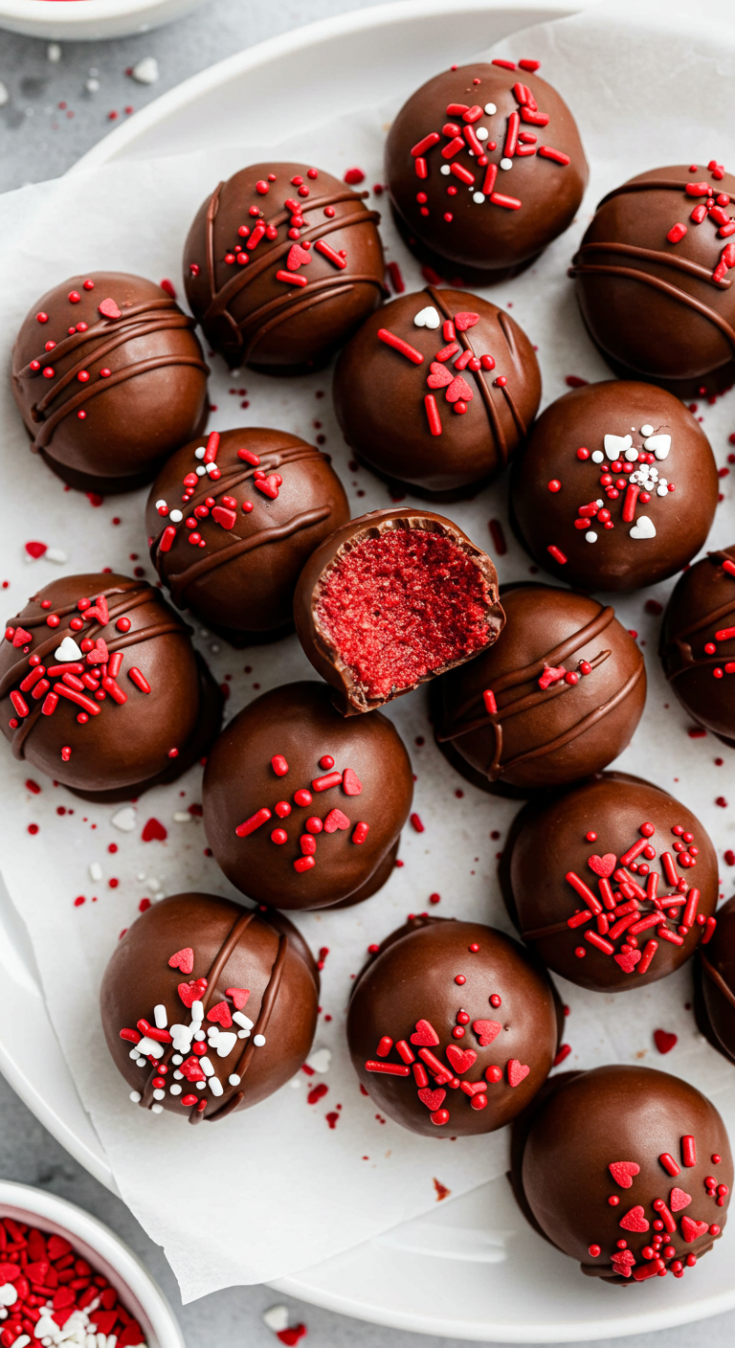
I love serving these Red Velvet Cake Balls as part of a dessert platter alongside fresh berries and a glass of sparkling wine. They’re also perfect paired with coffee or a steaming mug of hot cocoa on a cozy night in. For parties, arrange them on a tiered stand with other bite-sized treats to create an inviting display.
Storage and Reheating Tips
Keep your Red Velvet Cake Balls in an airtight container in the refrigerator for up to one week. They can also be frozen for up to two months — just thaw in the fridge overnight before serving. Since they’re coated in chocolate, they hold up beautifully without needing any reheating.
FAQs
How far in advance can I make Red Velvet Cake Balls?
You can make them up to two days ahead and store in the fridge. They’ll stay moist and delicious.
Can I freeze Red Velvet Cake Balls?
Yes, these freeze wonderfully. Just make sure to store them in an airtight container and thaw before serving.
Do I have to use cream cheese frosting in Red Velvet Cake Balls?
Cream cheese frosting gives the classic flavor, but you can substitute with vanilla or buttercream if you prefer.
How do I keep the coating on my Red Velvet Cake Balls smooth?
Be sure the balls are well-chilled before dipping, and let excess chocolate drip off to avoid thick, uneven coating.
Related Recipe You’ll Like
If you enjoyed making these Red Velvet Cake Balls, I highly recommend trying my Cherry Chocolate Cheesecake for another decadent dessert experience. You might also fall in love with my Nutella French Toast Casserole for a sweet and indulgent breakfast treat.
Save and Share This Recipe for Later
Don’t forget to save this Red Velvet Cake Balls recipe to your Pinterest board so you can easily find it again for your next special occasion. Share it with your friends and family on Facebook or Instagram — because everyone deserves a bite of this deliciousness! Happy baking and happy sharing!
Red Velvet Cake Balls
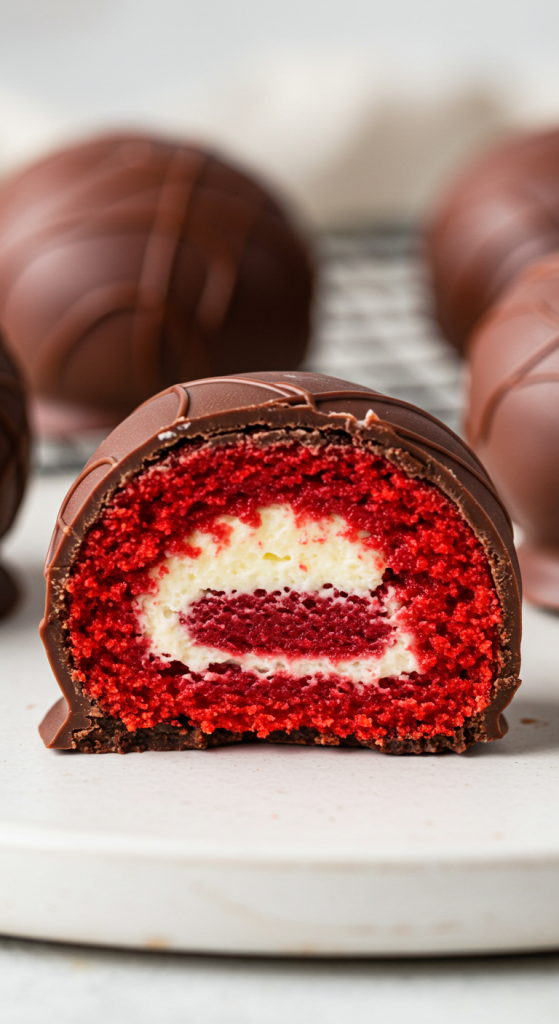
These Red Velvet Cake Balls are the ultimate bite-sized dessert, perfect for any occasion. With their signature moist red velvet interior blended with tangy cream cheese frosting and wrapped in a smooth chocolate coating, they’re decadent, festive, and irresistibly delicious. Whether you’re looking for an easy party treat or a sweet edible gift, these cake balls deliver big flavor in a small, elegant package.
Ingredients
- 1 box red velvet cake mix (plus ingredients listed on box)
- 1 1/2 cups cream cheese frosting
- 12 ounces chocolate or white chocolate melting wafers
Instructions
- Bake the red velvet cake according to package instructions and let it cool completely.
- Crumble cooled cake into a large mixing bowl.
- Gradually mix in cream cheese frosting until the mixture holds together.
- Roll into small balls and place on parchment-lined baking sheet.
- Freeze for 30 minutes to firm up.
- Melt chocolate or white chocolate wafers.
- Dip each ball in melted chocolate, letting excess drip off.
- Place back on parchment and let set completely.
- Decorate as desired before serving.
Notes
Be sure the cake is fully cooled before crumbling to avoid sogginess. Chill the balls well before dipping to keep the coating smooth. Store in the refrigerator or freezer for longer keeping.
Nutrition Information:
Yield:
30Serving Size:
1Amount Per Serving: Calories: 140Total Fat: 7gSaturated Fat: 4gTrans Fat: 0gUnsaturated Fat: 3gCholesterol: 6mgSodium: 47mgCarbohydrates: 18gFiber: 0gSugar: 16gProtein: 1g